Create a new SpaceDraft
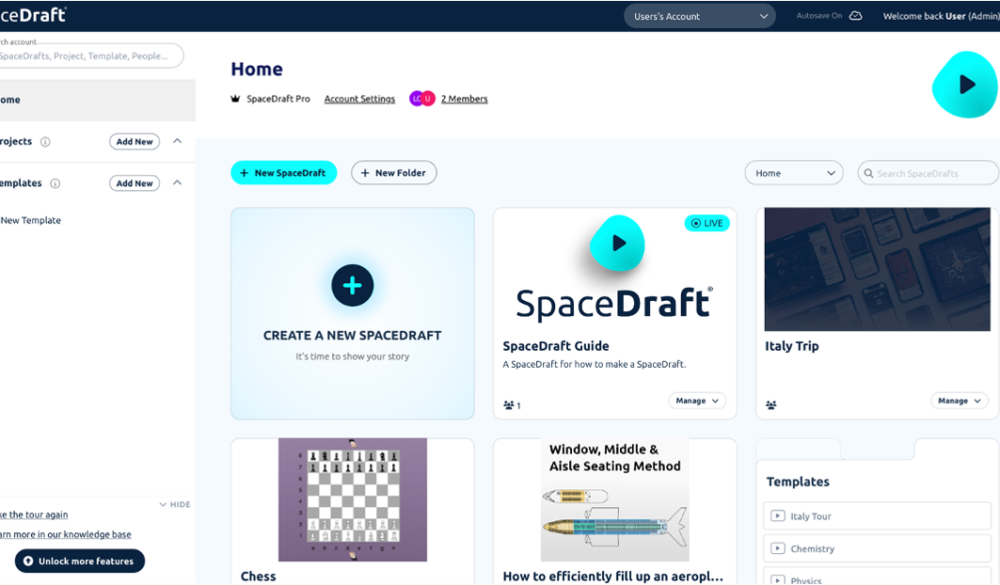
Once you login to SpaceDraft you’ll be taken to the Dashboard. Depending on how new you are to SpaceDraft you may or may not have any SpaceDrafts on this page, but when SpaceDrafts are made, you will find them here.
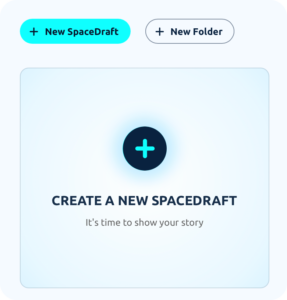
To create a new SpaceDraft click the + New SpaceDraft button or click on the box that says Create A New SpaceDraft
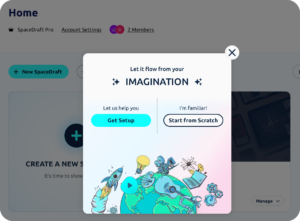
From here you can either click Get Setup or Start From Scratch:
Get Setup – Will walk you through the set up process. (We recommend clicking on this one, as it streamlines the process and makes everything easy to understand.)
Start From Scratch – Is for those who have more actively used SpaceDraft and don’t need any help with setting up.
Getting Started – ‘Get Setup’
When clicking Get Setup you will be guided through the process of setting up your SpaceDraft.
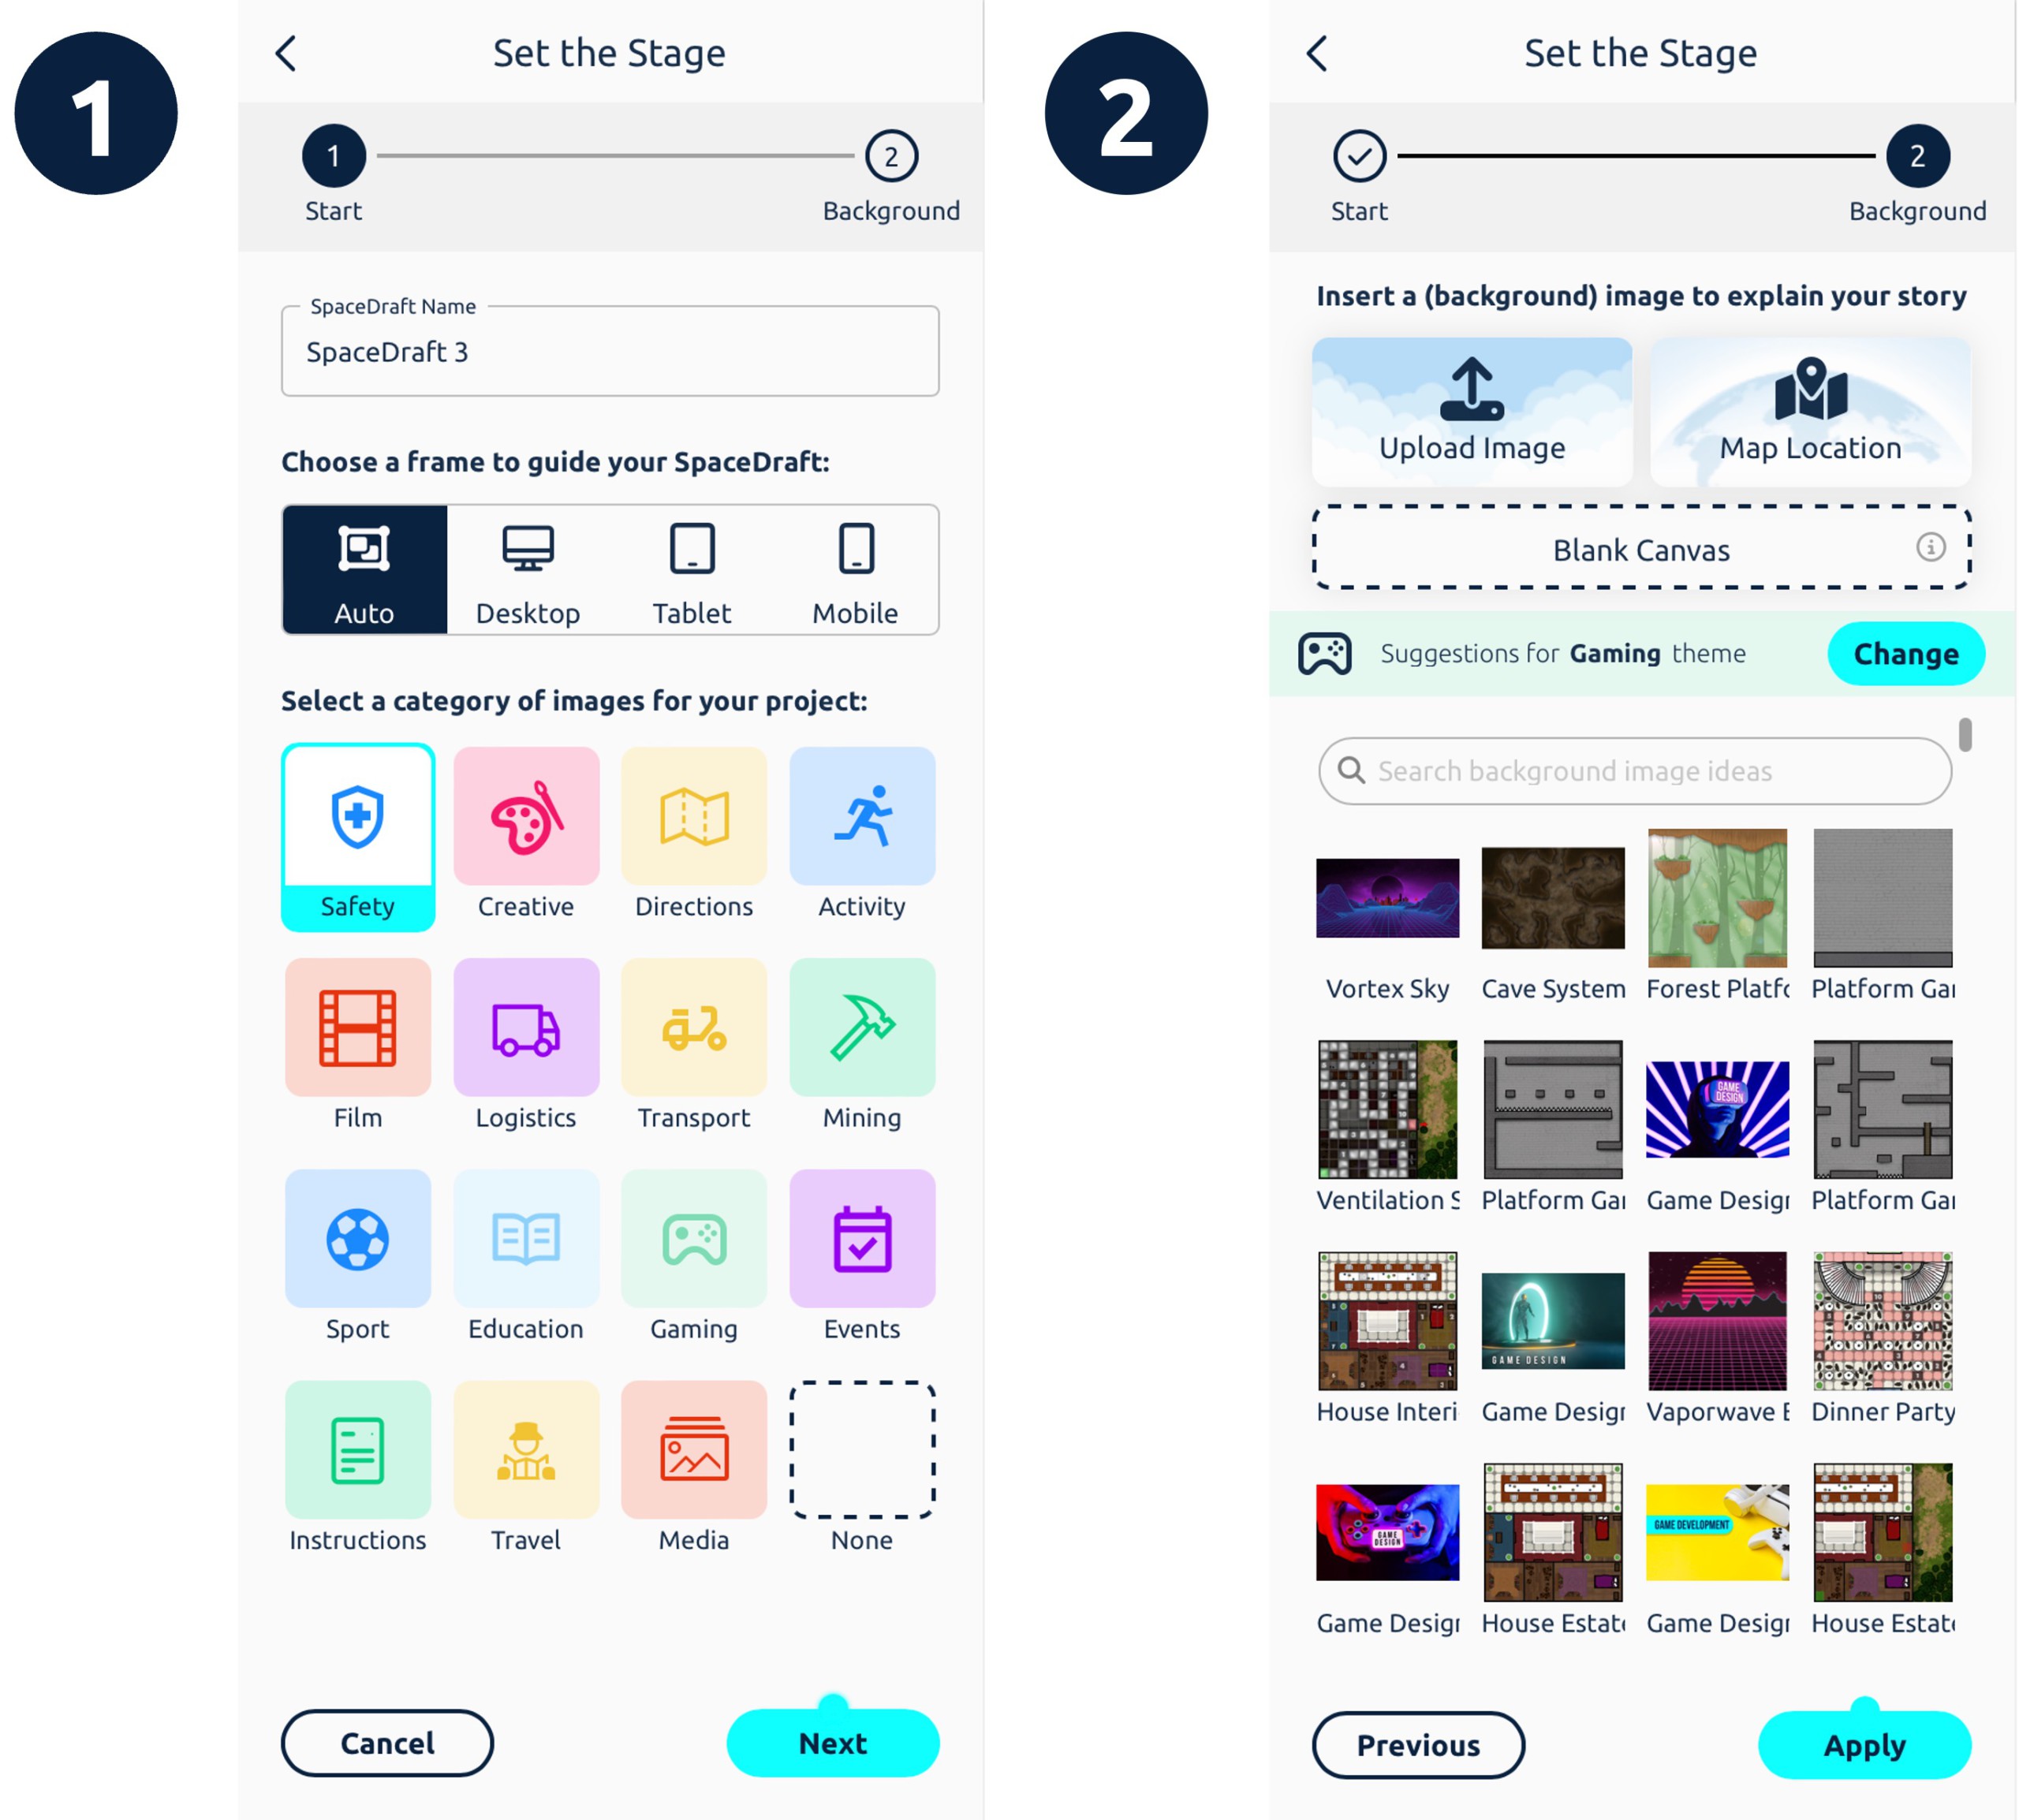
- Set Your Frame: Choose a frame to guide your SpaceDraft by selecting Auto, Desktop, Tablet and Mobile depending on what device you want your SpaceDraft viewed on.
- Pick Your Theme: Browse through the various themes and pick one that suits your SpaceDraft best. Picking a theme will show you backgrounds and pins that best fit that theme. If you don’t see a category that fits your SpaceDraft, just click none.
- Set Your Space: Have a look through our different backgrounds and decide which one works best for your SpaceDraft. You can also upload your own images or use a real world map for your background. If you’re undecided, choose Blank Canvas. You can always edit your background later.
Getting Started – ‘Start from Scratch’
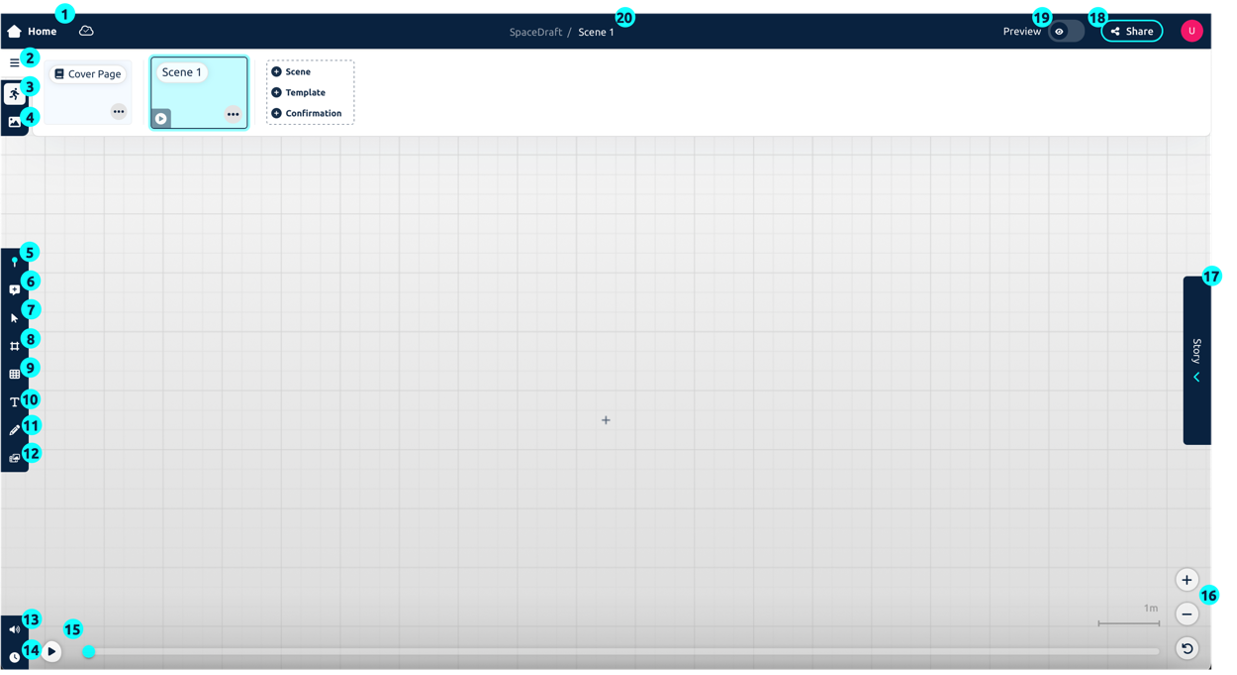
- Home: Click on the Home icon to return to the Dashboard.
- Navigation: Return to the Cover Page and move between scenes or add new scenes, templates or forms to your SpaceDraft.
- Activity Layer: The main layer where you create pin movements.
- Background Layer: An annotation layer that sits below your pins.
- Pin Library: Insert moving images or create new pins.
- Comments: Insert ‘post-it’ like comments with text, links and videos.
- Group select: Save time by selecting multiple images at once. Perform actions on multiple pins at once. You can also fuse pins into a single pin.
- Frame: Apply a frame to set aspect ratio and scale.
- Grid: Enable grid for greater precision when building your SpaceDraft. You can calibrate the grid to a specified scale or snap objects to the grid.
- Text: Insert text to describe what is happening in your scene.
- Paint: Markup your scene and highlight areas.
- File Library: Browse the file library for your SpaceDraft and upload any media you would like to insert into your SpaceDraft.
- Sound: Introduce sound or a voiceover to your project. This can be sound you have previously recorded, or you can record it now in the Sound Panel.
- Timeline: Open the movement tab to track the movement of your pins. You can decide when they need to be hidden, when they need to move and much more. Here you can also change the time format of your SpaceDraft.
- Slider: Use the slider to scrub through time and push play to see your scene play out.
- Zoom controls: Click + to zoom in and – to zoom out.
- Story: The story can be used to describe your scene.
- Share: Send out your SpaceDraft as a view only link, create a QR Code of a Scene or Project or invite collaborators to work with you in real-time.
- Preview: Toggle between Edit and Preview mode to see how your SpaceDraft will appear to others.
- Title: Edit the title of your SpaceDraft.
SpaceDraft Overview
You can edit your SpaceDraft title and description by navigating back to the Dashboard. Click the Manage dropdown menu to edit the thumbnail, title and description of your SpaceDraft.