Pins
This is where the magic happens.
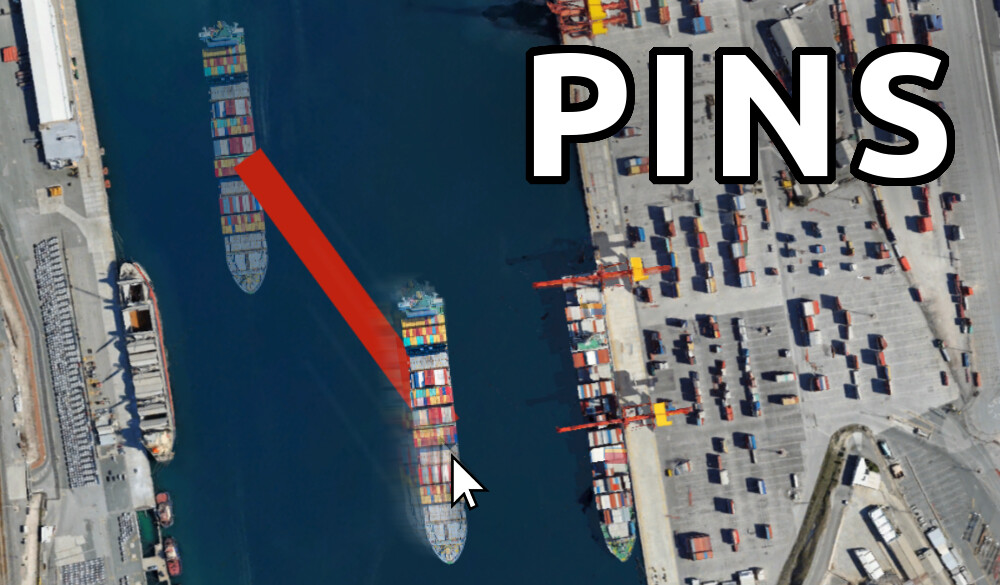
Pins are used to represent action within your scene. Use movement to bring your vision to life and customise your pin to accurately represent your imagination or plan. Pins can be used for mapping out directions, demonstrating changes over time, identifying an area, coordinating movement of objects, and more!
You can find all your pins in the Pin Library.
Pin library
The Pin Library is where you will find all the pins you need to create your project. The Pin library can be accessed by clicking on the icon.

You’ll notice the Pin Library tab and the My Pins tab. Below is some information on how best to use them.
Pin Library
Here you can browse the different recommended pins that SpaceDraft has to offer depending on the selected theme. Click and drag the pins you like into your space to add them, or select multiple pins and click the blue ‘place pin’ button, and multiple will be added at once.

My Pins
This tab will show you all the pins that are currently in your project. Clicking on them will highlight where they are within the space. Additionally if you click the Heart Icon, You can favourite a pin, this will allow you to use these pins in other scenes, For more information on this, click here.

Custom Pins
At the base of the pin library you’ll find the Build Your Pin button. Clicking on this will allow you to create more unique custom pins, or further customise existing ones. Read more here.
Adding Further Adjustments to Pins
When you click on a pin, you’ll see a variety of options available to you that allow you to make even more adjustments. Below is a list of what you can do.
- Rotate or Resize your pin (More info for this is available here).
- Add Movement to a pin to bring your scene to life (More info for this is available here).
- Edit this pin even further.
- Change the name of the pin.
- Hide the pin (More info for this is available here).
- Flip it vertically or horizontally (More info for this is available here).
- Send it in front or behind another pin (More info for this is available here).
- Copy the pin and paste it elsewhere (including other projects too).
- Duplicate the pin (More info for this is available here).
- Remove your pin.
Drag and Drop an image
- Click and drag any image from your desktop.
- Drop this file anywhere on the background.
- You have created a new pin using this image.
To learn how to make your pins move, click here.